
Last updated November 2, 2026
 Wrought iron
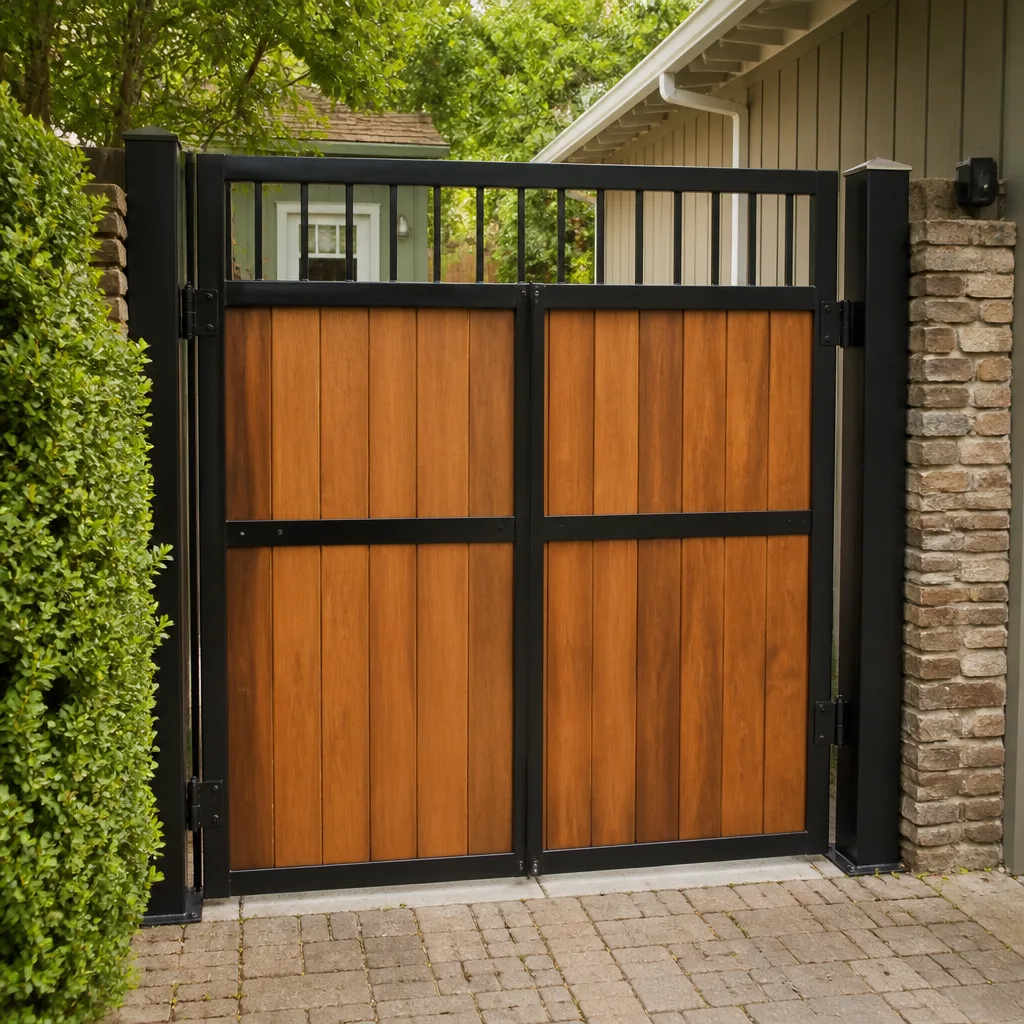 Wood & steel frame
 Farm & ranch
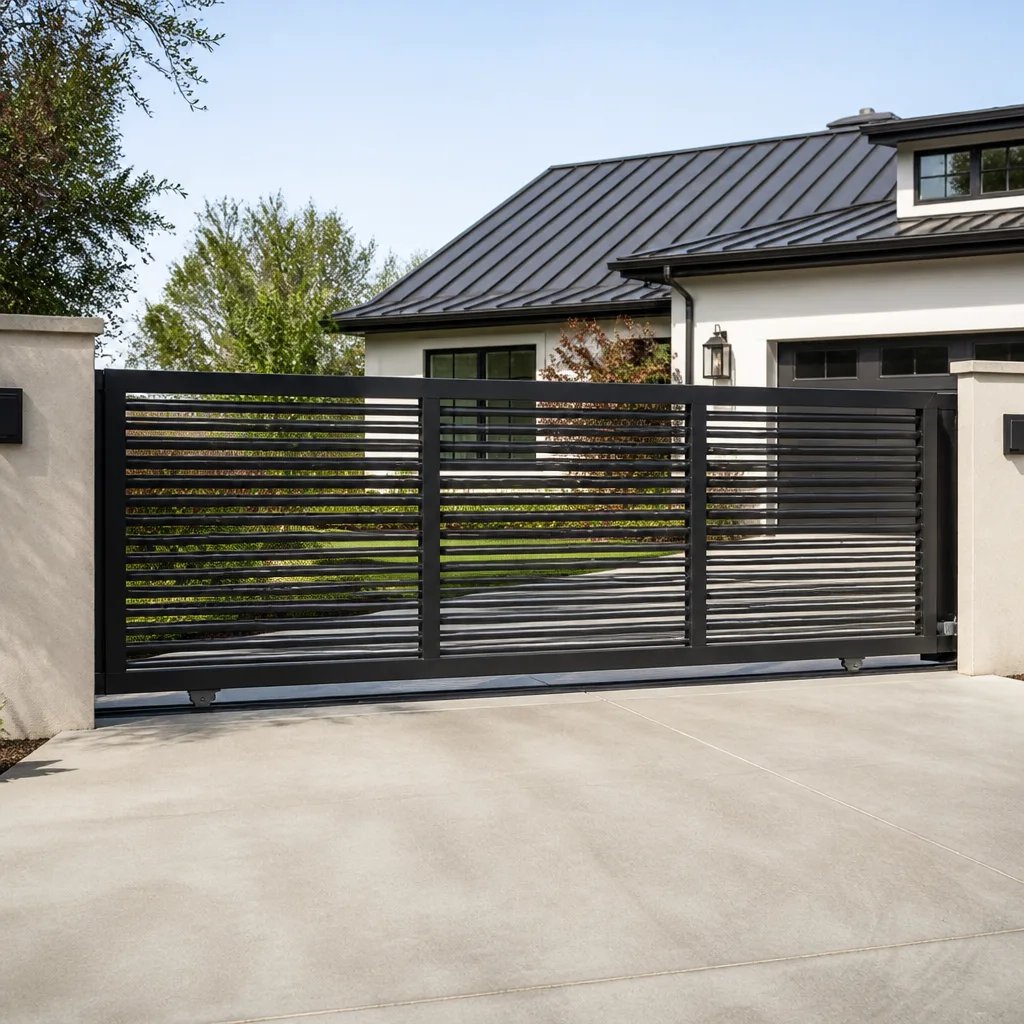 Sliding driveway gates
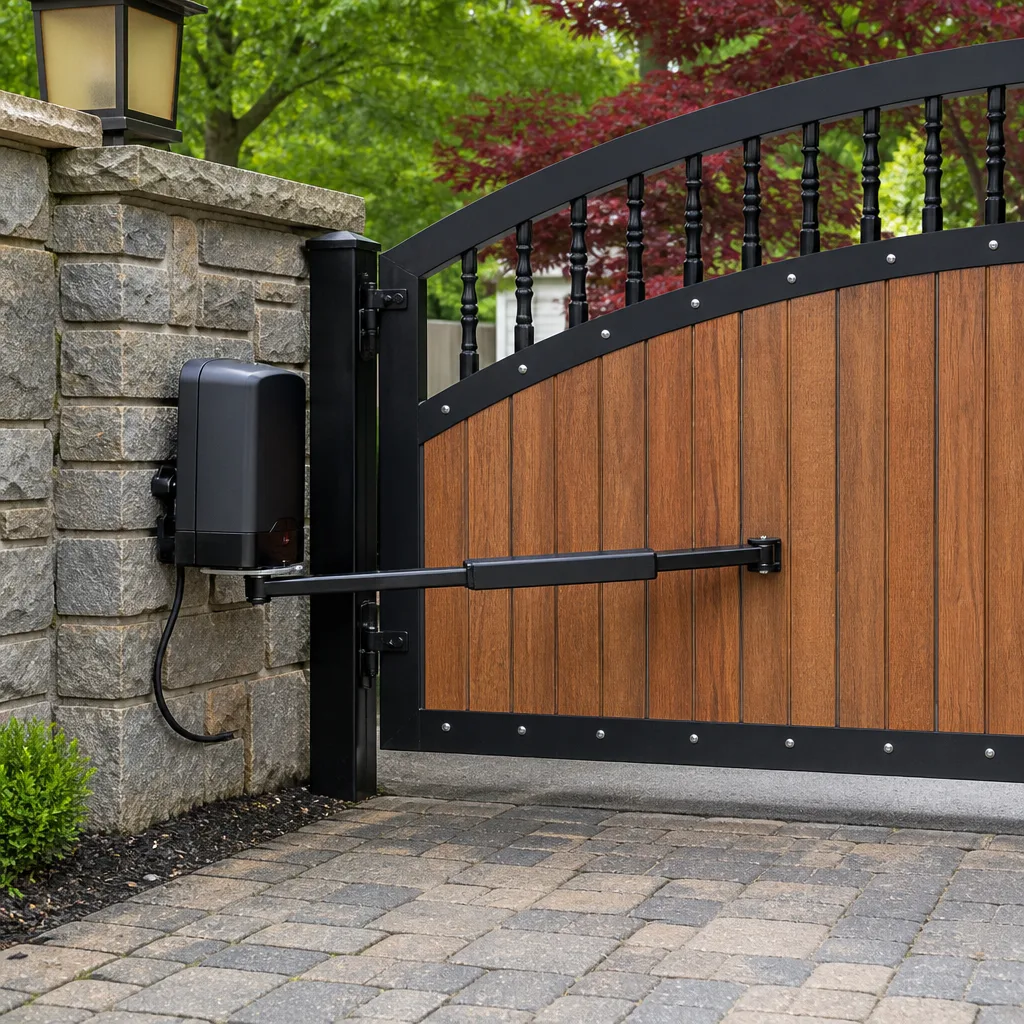 LiftMaster operators
Free on-site gate assessment - hinges, posts, and your LiftMaster or Nice gate operator checked before anything is quoted
The assessment is free and the quote is the invoice.
Get your free estimateGate Repair Troubleshooting: Common Problems and How to Fix Them
Here’s the counterintuitive truth we learn after enough years working on gates in San Clemente: most “broken gate” calls are not broken hardware. They’re broken logic. A gate that won’t open because the photo eye drifted half an inch costs nothing to fix. A gate that won’t open because the control board fried costs $400. Same symptom, completely different problem. This guide – along with our Gate Repair Warning Signs: A San Clemente Homeowner’s Reference Guide – walks you through how to tell the difference in about five minutes, before you spend money on parts you don’t need or a service call for a problem you could have solved with a screwdriver. We’ll cover power faults, sensor logic, mechanical binding, and the point where you should stop touching things and call someone who does this every day.
Quick Answer
Gate repair troubleshooting starts with one question: does the motor do anything when you trigger it? A silent gate points to power or control-board failure. A humming gate points to a mechanical bind or a bad capacitor. A gate that moves then reverses points to a safety sensor alignment issue. Match the symptom to the subsystem, and most gate failures can be diagnosed in under five minutes.
Styles & brands we work with
- Wrought iron
- Wood & steel frame
- Farm & ranch
- Sliding driveway gates
- LiftMaster operators
Table of Contents
- The Silent Gate: No Sound, No Movement
- The Gate That Hums But Won’t Move
- The Gate That Moves Then Reverses
- The Gate That Opens and Closes On Its Own
- Remote and Keypad Failures That Mimic Operator Problems
- Mechanical Binding: Hinges, Wheels, and Track Wear
- How to Test the Power Supply in Sequence
- When a Reset or Reprogram Actually Fixes the Problem
The Silent Gate: No Sound, No Movement
A gate that does absolutely nothing when you press the remote, enter the keypad code, or hit the wired button is the easiest fault to misdiagnose, because silence has about six possible causes and only two of them involve the motor. Before you assume the operator is dead, work through the cheapest explanations first.
The number one cause of a silent gate in San Clemente is a tripped GFCI outlet or a breaker that got flipped. Gate operators in this area are frequently plugged into the same circuit as outdoor lighting or pool equipment, and a surge or a wet outlet will trip the breaker long before it damages the operator. The second most common cause is a remote that lost its programming or a keypad with dead batteries. We’ll cover those separately below. The third is a blown fuse on the control board itself, which is a five-minute fix if you have the right fuse and know where it sits.
Fault-tree sequence for a silent gate:
- Check the breaker and GFCI. Reset both. If the GFCI trips again immediately, you have a ground fault in the operator or the wiring, and that’s a call-a-technician situation.
- Test the wired control button. If the wired button works but the remote doesn’t, the problem is the remote or receiver, not the operator. Skip to the remote section.
- Check the control board for a blown fuse. Most LiftMaster, FAAC, and BFT control boards have a clearly marked fuse. A blown fuse often means a short elsewhere, so replace it once and watch for a repeat failure.
- Smell the operator. A burned smell means the transformer or motor has failed. That’s a replacement part, not a repair.
We’ve worked on enough our Gate Repair services calls in San Clemente where the fix was a GFCI reset that the first thing we ask customers to check is the outlet. It saves everyone a truck roll.
The Gate That Hums But Won’t Move
A humming gate is a very different animal from a silent gate, and it’s one of the few symptoms that reliably points to a physical problem rather than a logic problem. When the motor hums but the gate doesn’t move, the motor is getting power and trying to work, but something is stopping it. That “something” is either a failed capacitor, a bound mechanical component, or a motor that has already burned out and is now just vibrating in place.
Start with the capacitor. Single-phase gate motors, including most residential Mighty Mule and Ghost Controls units, use a start capacitor to get the motor spinning. When that capacitor fails, the motor can’t start turning, but it still draws current and hums. A swollen or leaking capacitor is visible on inspection, and it’s a cheap replacement part. This is a repair a homeowner with basic electrical confidence can do safely, as long as the operator is unplugged and the capacitor is discharged first.
If the capacitor looks fine, the next suspect is a mechanical bind. For a swing gate, that means a hinge that has sagged or seized. For a slide gate, it means a wheel that has flattened, a track that has collected debris, or a chain that has jumped a sprocket. Release the operator’s manual disconnect and try to move the gate by hand. If it’s hard to move, the motor was fighting the bind and tripping its thermal overload, which is why it hums without opening. Fix the bind, and the gate works again without touching the motor.
If the gate moves freely by hand and the capacitor is good, the motor itself is likely failed. That’s a replacement call, and in our experience, it’s the diagnosis about 20% of the time. The other 80% is a capacitor or a bind.
The Gate That Moves Then Reverses
A gate that starts to open or close and then immediately reverses is the single most misdiagnosed gate symptom in San Clemente, and possibly in the entire industry. Homeowners assume the motor is failing or the control board is bad. In reality, nine times out of ten, this is a safety sensor problem.
Every electric gate operator manufactured in the last 25 years is required to have an obstruction detection system. On most residential systems, that’s a photo eye pair mounted on the gate posts, similar to the sensors on a garage door. When the beam between the two eyes is broken or misaligned, the control board interprets it as an obstruction and reverses the gate. The fix is usually not a part at all. It’s realigning the photo eyes so they point directly at each other, or clearing foliage, spider webs, or dirt from the lenses.
Here’s the sequence to rule this out:
- Check the photo eye indicator lights. Most photo eyes have a small LED. A solid light means aligned. A blinking light means not aligned. This is the fastest diagnostic in the entire gate repair field.
- Wipe the lenses. Coastal air in San Clemente leaves a fine film on everything, and photo eye lenses are no exception. A quick wipe fixes more “reversing gate” calls than any other single action.
- Look for things that moved. A post that shifted in wet soil, a bush that grew into the beam path, a planter that got set down in front of the sensor. All of these break the beam and cause the reversal.
- Check the edge sensor, if equipped. Some gates also have a pressure-sensitive safety edge on the leading edge of the gate. If that edge is pinched, damaged, or waterlogged, it can send a false obstruction signal.
Only after all of these are cleared should you suspect the control board. And even then, a board that’s receiving a false obstruction signal is doing exactly what it was designed to do. The board isn’t broken. The sensor input is. Learn to tell those two things apart and you’ll save yourself a lot of money.
The Gate That Opens and Closes On Its Own
A gate that randomly opens, closes partway, or cycles without anyone pressing a button is the most unnerving symptom a homeowner can face, and it generates a disproportionate share of our calls. The cause is almost never the motor. It’s almost always a phantom input to the control board.
Phantom inputs happen when the board receives a signal it wasn’t supposed to receive. The usual suspects are a remote button stuck in the down position, a keypad that’s been infiltrated by moisture and is shorting across its contacts, a wired intercom or key switch with a corroded connection, or a loop detector that’s picking up interference from nearby power lines. In San Clemente’s coastal air, corrosion on outdoor keypads and intercom stations is a constant problem. Salt mist gets into the keypad housing, and the keypad starts generating random codes on its own.
The diagnostic sequence is simple. Disconnect the accessories one at a time. Start with the keypad, then the intercom, then the loop detector. If the phantom cycling stops when a particular accessory is disconnected, that accessory is the problem. If it continues with everything disconnected, the control board itself is generating the phantom signal, and it needs to be replaced or reprogrammed.
One quick note for anyone with a Viking or Linear operator: these boards have diagnostic LEDs that flash in specific patterns when they receive an input. Learning to read those patterns takes one minute and tells you exactly which input is triggering the gate. It’s the difference between a ten-minute diagnosis and an hour of guesswork.
Remote and Keypad Failures That Mimic Operator Problems
Here’s a scenario we see weekly: a San Clemente homeowner calls us because the gate “won’t open,” and the actual problem is that the remote’s battery died and the keypad’s solar panel is covered in bird droppings. The operator is fine. The input devices failed. These are the cheapest fixes in gate repair, and they’re also the most commonly overlooked.
Remote failures break down into three categories. Dead battery is the most common and the easiest to fix. Next is lost programming, which happens when a remote’s code gets wiped by a power surge or an accidental button-press sequence. Third is a failed receiver, which is on the operator side, not the remote side. Here’s how to test: if the wired button works and the remote doesn’t, try a second remote if you have one. If the second remote works, the first remote is dead. If neither remote works but the wired button does, the receiver on the board is the problem, and that’s a board-level repair.
Keypad failures are almost always environmental in coastal areas. Moisture gets into the housing, corrodes the contact pads, and the keypad stops responding or starts responding erratically. If you open the keypad and see green or white corrosion on the circuit board, that’s the culprit. A replacement keypad is $80 to $150 for most brands, and it’s a straightforward swap if you’re comfortable with low-voltage wiring.
Mechanical Binding: Hinges, Wheels, and Track Wear
Mechanical binding is the slow killer of gate operators. A gate that’s slightly harder to move than it was last year puts extra load on the motor, which causes the motor to run hotter, which shortens its life. Gates don’t bind suddenly in most cases. They bind gradually, and the operator compensates until it can’t.
For swing gates, the binding points are the hinges. A steel gate on steel hinges in San Clemente’s salt air will develop rust and corrosion at the hinge pins. If the gate has a slight squeal when it moves, or if it feels heavier at one point in its arc, the hinges need lubrication or replacement. A gate that sags visibly has a hinge problem or a post problem, and both are structural issues that will eventually destroy the operator if left unattended.
For slide gates, the binding points are the wheels, the track, and the chain. Wheels flatten over time, especially on heavy gates that sit in one position for months. Track fills with debris, and on properties near the beach, sand works its way into every bearing surface. The chain stretches, and a stretched chain can jump a sprocket, which creates a hard jam. Any of these will make the gate harder to move, and the operator will respond by drawing more current and running hotter.
Here’s a simple test for mechanical binding. Pull the manual disconnect on your operator and push the gate by hand. It should move smoothly with moderate effort. If it doesn’t, you’ve found a mechanical fault. Fix the mechanical fault first, then see if the operator works correctly. Replacing an operator without fixing the bind is the most expensive mistake a gate owner can make, because the new operator will fail the same way.
How to Test the Power Supply in Sequence
Power supply problems are the most common cause of a gate that’s completely dead, and they’re also the cheapest to fix. The key is to test in sequence, from the wall to the board, because each step rules out a different layer of the problem.
- Test the outlet. Plug a lamp or a voltage tester into the outlet the operator uses. If the outlet is dead, check the breaker and the GFCI. This is the fix for a significant share of “dead gate” calls we handle.
- Test the operator’s power switch. Many operators have a rocker switch on the side. It gets bumped off more often than you’d think, especially on gates that share space with landscaping equipment.
- Test the transformer. The transformer converts 120V line voltage to the 24V DC that the control board runs on. If you have 120V at the outlet but no 24V at the board, the transformer is failed. This is a replaceable part on most LiftMaster, FAAC, and BFT operators.
- Test the board’s power terminals. If 24V is reaching the board but the board’s LEDs are dark, the board itself is dead. That’s a replacement, not a repair.
For anyone uncomfortable working with line voltage, steps 1 and 2 are safe. Steps 3 and 4 involve opening the operator housing and testing live circuits, and that’s the point where we recommend calling a professional. A 120V shock is not worth saving a service fee.
When a Reset or Reprogram Actually Fixes the Problem
There’s a persistent myth that resetting a control board is a panacea, and there’s a counter-myth that resets never do anything. The truth is in between. Some faults are stored in volatile memory and clear with a power cycle. Others are stored in non-volatile memory and survive a reset. Knowing which is which saves time.
A power-cycle reset clears temporary fault states: an overload condition the board latched when the gate jammed, a sensor error that was triggered by a transient obstruction, or a communication error between the board and a remote receiver. If your gate stopped working immediately after a storm, a power outage, or a gate jam, a power-cycle reset is a reasonable first step. Unplug the operator for 60 seconds, plug it back in, and test.
A factory reset or a reprogram is a different procedure. It wipes the board’s learned settings and returns it to default. This is useful when the board’s programming has corrupted, which happens on older boards that have been through multiple power surges. But a factory reset also wipes your remote codes, your force settings, and your limit settings. On a LiftMaster or BFT operator, reprogramming after a factory reset is not hard, but it does require the manual and about 20 minutes. If you’re not comfortable doing it, that’s a service call.
Common Mistakes to Avoid
- Replacing the motor before checking the capacitor. A humming gate with a bad capacitor gets misdiagnosed as a bad motor more often than any other failure. The capacitor is $20. The motor is $300. Test the cheap part first.
- Assuming a reversing gate has a bad board. The reverse-on-close symptom is a safety sensor issue in the vast majority of cases. Wipe the photo eyes and check alignment before you spend money on electronics.
- Ignoring a gate that’s getting harder to move. Mechanical binding is progressive. By the time the operator fails from overload, the hinge or wheel damage has usually spread. Fix binds when they’re small.
- Lubricating everything with WD-40. WD-40 is a solvent, not a lubricant for gate hinges and wheels. Use a proper lithium grease or a dry silicone lubricant. In San Clemente’s coastal air, the wrong lubricant attracts salt and grit and makes the bind worse.
- Skipping the GFCI check. We can’t count how many San Clemente gates we’ve “fixed” by resetting a GFCI outlet. Check the cheapest thing first, even if it feels too obvious.
- Replacing the gate operator without fixing the underlying problem. A new operator on a bound gate or a misaligned sensor will fail the same way the old one did. Diagnose the root cause before you replace the machine.
See the difference
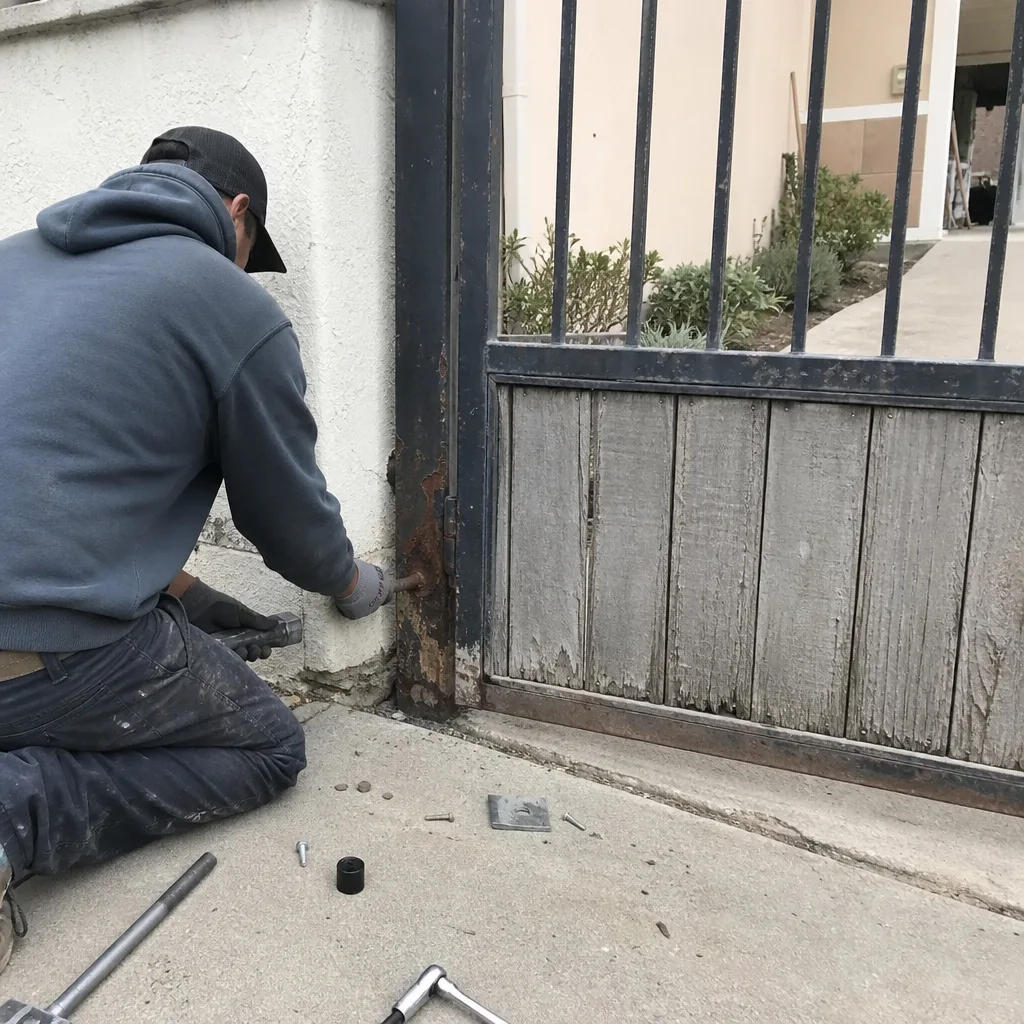 Before
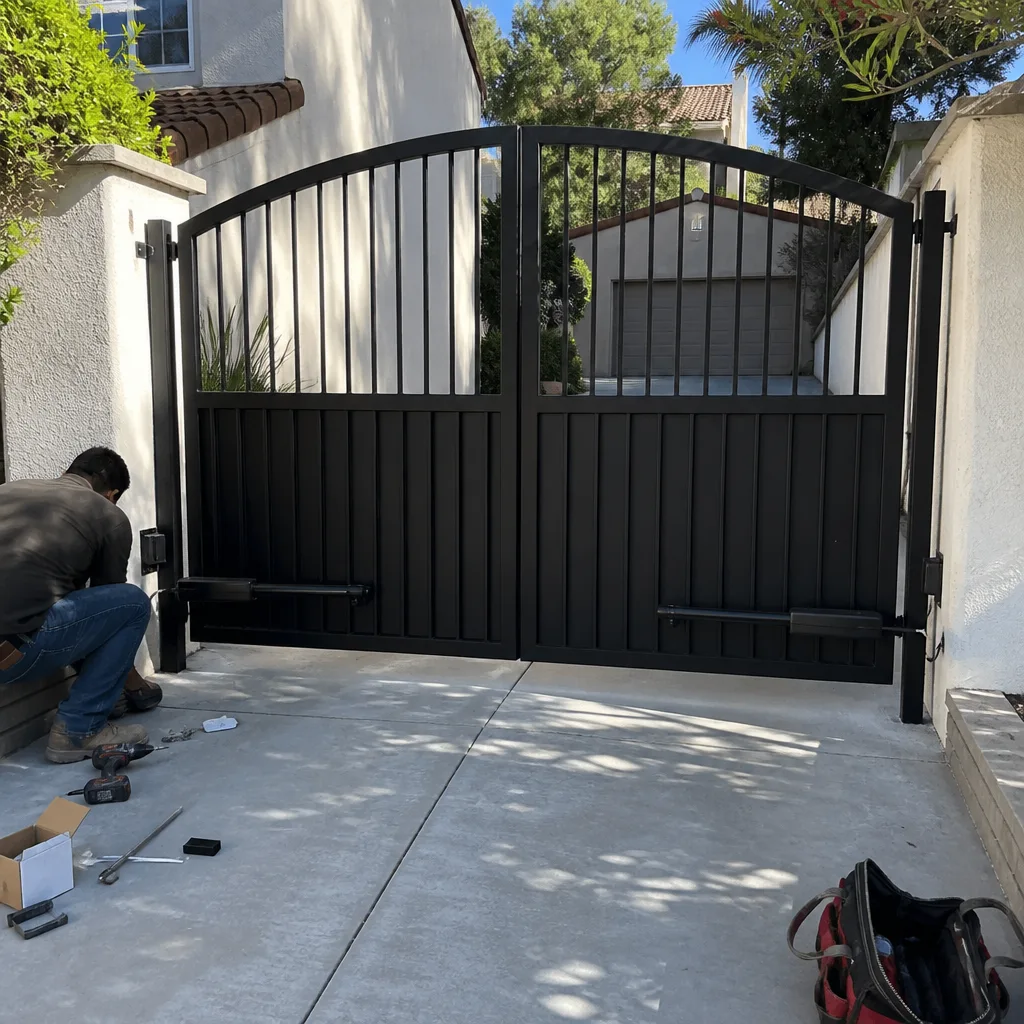 After
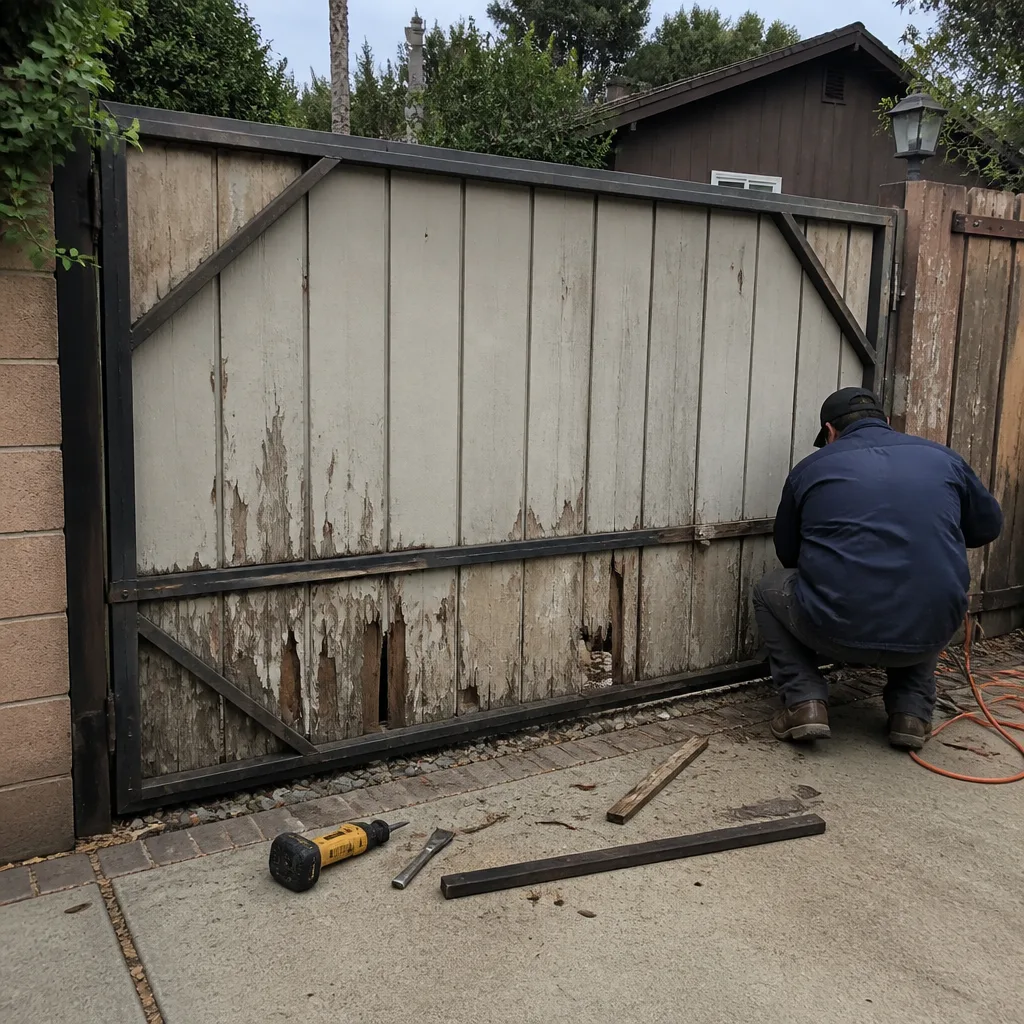 Before
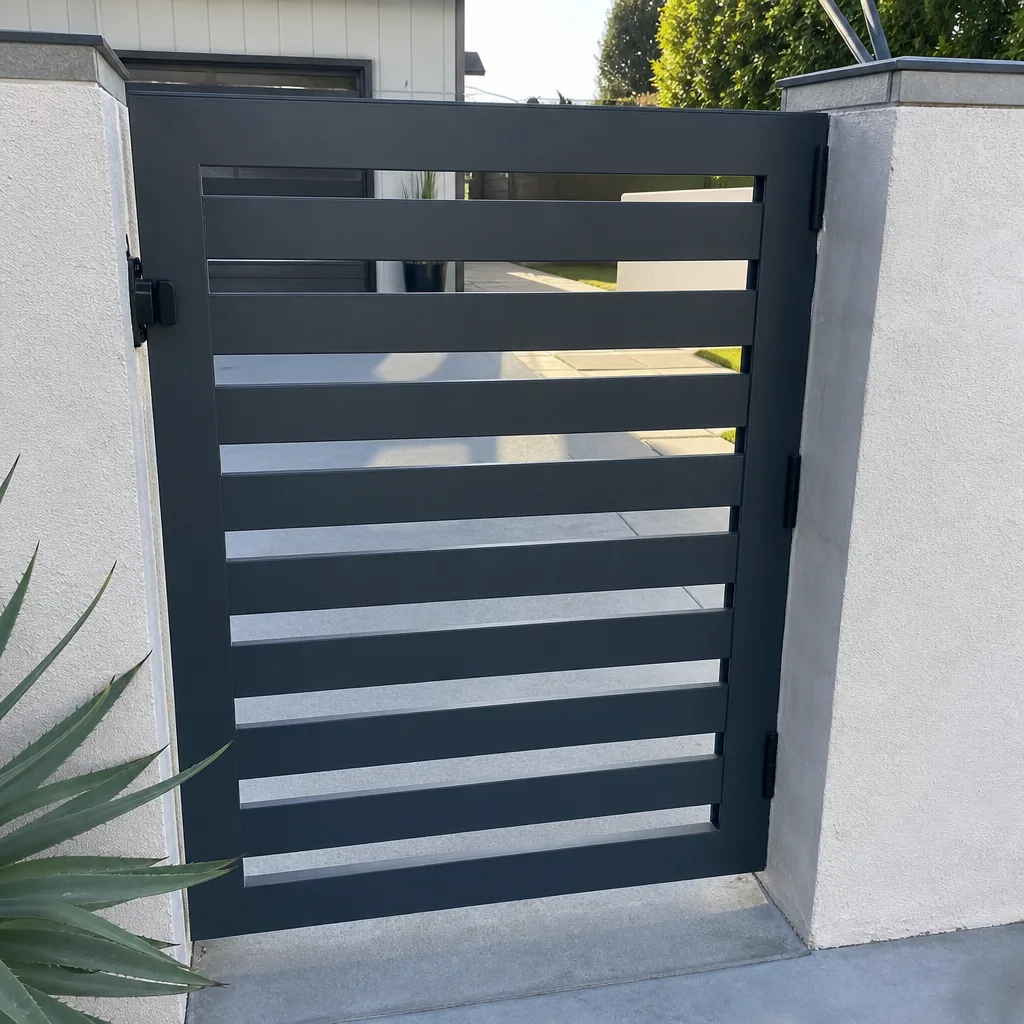 After
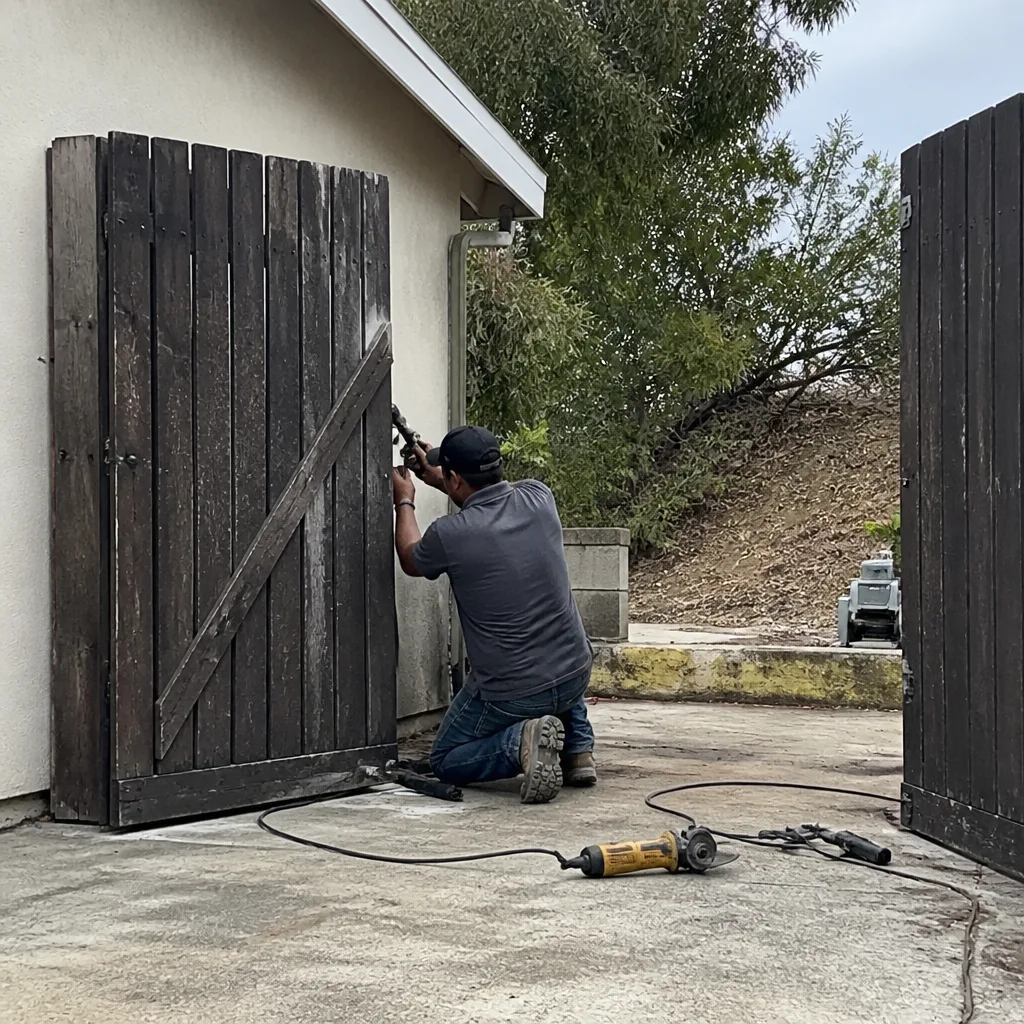 Before
 After
When to Call a Professional
Some gate problems are safe to troubleshoot yourself, and some are not. Any symptom that involves live wiring, a smoking or burning component, a gate that’s off its track and leaning, or a swing gate that has dropped significantly on one side is a stop-and-call situation. A gate that’s off its track can fall on a person or a vehicle. A burning control board can start a fire. These are not areas where YouTube research or more guides & resources substitute for experience.
We also recommend calling a specialist when the diagnosis points to a control board failure, because board-level repair requires brand-specific knowledge. A technician who works on LiftMaster and Linear boards every day will diagnose a bad relay or a failed receiver in minutes, where a generalist might swap the whole board at three times the cost. Electric Gate Repair in San Clemente is our core service, not a side offering. Gate Repair San Clemente offers free estimates in San Clemente. Call (866) 282-7403 and we’ll walk through the symptoms with you over the phone first.
Frequently Asked Questions
A gate that opens partially and stops is usually hitting a limit setting that’s wrong, or it’s encountering resistance from a mechanical bind that causes the motor to trip its overload. Check the limit switches on the operator first, then run the manual-disconnect test described above to check for binding. If the gate moves freely by hand and the limits are set correctly, the board’s force settings may need adjustment, which is a service call.
Gate repair in San Clemente typically runs from $120 for a basic sensor alignment or capacitor replacement up to $600 or more for a control board or motor replacement, depending on the brand and the operator’s age. Entry-level residential operators like Mighty Mule and Ghost Controls generally cost less to repair than commercial-grade systems from FAAC or BFT, because the parts are simpler. Learn more about gate repair in San Clemente, or call (866) 282-7403 for a free estimate on your specific system.
Yes, in most cases. The cause is almost always a misaligned or dirty photo eye sensor, and the fix is to wipe the lenses and realign the eyes until the indicator light turns solid. If the edge sensor is waterlogged or pinched, that can also cause false reversal. If both sensors are clear and the gate still reverses, the control board may have a fault, and that’s the time to call a specialist.
Intermittent failures point to moisture, temperature, or a loose connection. In San Clemente, where marine layer and temperature swings are part of daily life, intermittent faults are common. A connector that’s slightly corroded will make contact on a dry day and fail on a damp morning. A photo eye that’s just barely aligned will work until the post flexes in the heat. These are the hardest faults to diagnose, because the symptom isn’t present when you’re testing. A technician who works on gates in this climate every day will know what to look for, which is where a local specialist earns the fee – see How to Hire a Gate Repair Contractor in San Clemente: A Step-by-Step Guide for tips on choosing the right one.
A repair fixes the existing system. A replacement swaps the operator, the gate, or both for new equipment. The decision comes down to economics and age. Operators over 15 years old, boards that are no longer manufactured, and gates with significant structural rot or rust are often better replaced than repaired. Gate installation in San Clemente is something we handle in-house, so if your system is beyond repair, you don’t need to source a separate installer.
We work on nine of the industry’s most widely installed brands, including LiftMaster, FAAC, BFT, Linear, Viking, Ghost Controls, DoorKing, Elite, and Mighty Mule. That covers entry-level residential systems up to commercial and industrial operators. We work on your brand, not around it, which means we stock brand-accurate parts and don’t improvise with whatever fits.
The Bottom Line
Gate troubleshooting is a process of elimination, and the order of elimination matters more than the final answer. Start with power, then inputs, then sensors, then mechanical movement, then the board. Each step rules out a layer of the problem, and by the time you’ve worked through the sequence, you’ll know whether you’re fixing a $20 fuse or replacing a $300 control board. If you get stuck, or if you’d rather not touch line voltage at all, Gate Repair San Clemente is here. We answer the phone, we know the brands, and we’ll give you an honest diagnosis before we ever send a truck. Call (866) 282-7403 and get your gate back to working before you know it.
Written by the team at Gate Repair San Clemente, serving San Clemente since 2012.